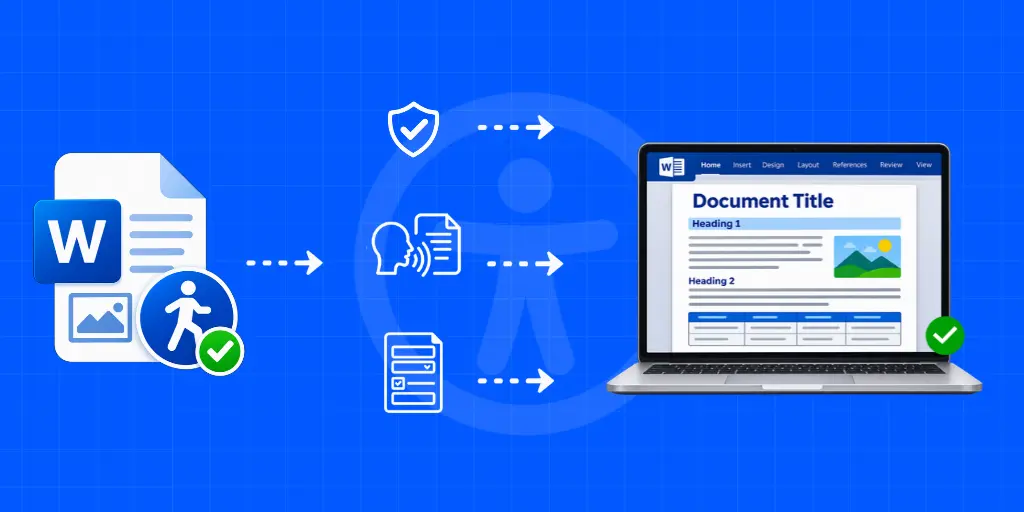
A Document Can Look Right and Still Be Inaccessible
A Word document rarely stays as it was first created. Someone copies an old template, changes the formatting, adds a table, or moves sections around. The document may still look perfectly fine, but its underlying structure can tell a different story. A heading formatted with bold text may not be recognised as a heading. A table that looks straightforward may be difficult for a screen reader to interpret.
These are the kinds of problems that often go unnoticed during a routine review. Word document accessibility requires more than a visual check. This guide looks at how to create the Americans with Disabilities Act (ADA) Compliant Word Documents, find and fix accessibility issues, check the finished document, and retain accessibility when converting it to PDF.
Understanding ADA Requirements for Word Documents
The ADA does not prescribe separate formatting rules for Microsoft Word. It requires covered organisations to make their services, programmes and activities accessible. The applicable technical requirements depend on where a document is used and which regulations apply.
For state and local governments, the DOJ’s Title II rule identifies WCAG 2.1 Level AA as the standard for covered web content, mobile applications and online documents, subject to specific exceptions. Compliance deadlines are April 26, 2027, for entities serving 50,000 or more people and April 26, 2028, for smaller entities and special district governments.
Section 508 applies to federal agencies when developing, procuring, maintaining or using information and communication technology, including electronic documents. Its Revised Standards specify WCAG 2.0 Level AA for applicable electronic content.
The distinction matters: the ADA establishes legal obligations, while WCAG provides technical accessibility criteria. Section 508 has its own scope and requirements. Organisations must understand which apply before deciding how to make a Word document ADA compliant.
Organisations dealing with larger document collections also need to consider how these requirements apply across their published files. Our practical guide to ADA Title II document accessibility explores how organisations can identify, prioritise and remediate documents at scale.
How to Fix Accessibility Issues in Existing Word Documents
Older Word documents often need more than a few formatting changes. They may have passed through several rounds of editing, been copied from PDFs, or started with templates that were never designed with accessibility in mind. The first step is to check how the content is organised and correct anything that could make it difficult to navigate.
Repair Document Structure and Formatting
Start with the document’s headings, paragraphs and lists. These provide the structure that assistive technologies rely on to help readers move through the content.
Follow these steps:
1. Apply the correct heading styles – Select each heading and choose the appropriate style under Home > Styles. Use Heading 1 for main sections, Heading 2 for subsections, and Heading 3 for sections within them. Keep the hierarchy in order without skipping levels.
2. Check manually formatted headings – Making a line bold or increasing its font size does not assign it a heading role. For example, a section title set in 16-point bold text should be assigned the appropriate heading style rather than relying on its appearance.
3. Correct lists and spacing – Use Word’s built-in bullet and numbering options instead of typing symbols or numbers manually. Remove unnecessary blank lines and use paragraph spacing to separate sections.
4. Review copied content – Text brought in from PDFs, websites or older templates may carry formatting that does not fit the rest of the document. Reapply the correct styles and check that headings, paragraphs and lists follow a consistent structure.
Microsoft’s built-in heading styles provide structural information that screen readers can use to navigate a document.
Review Comments, Tracked Changes, and Document Properties
A document may be structurally sound but still contain material that should not appear in the version being shared. Editorial comments, unresolved revisions and outdated document details are worth checking before publication.
Work through the following checks:
1. Resolve tracked changes – Open the Review tab and accept or reject each outstanding change, depending on the final editorial decision.
2. Remove comments – Review the comments and delete those that are no longer needed. Do not leave internal feedback in a document intended for external distribution.
3. Check document properties – Confirm that the document has an appropriate title and that its language is set correctly. This helps identify the file and ensures that assistive technologies and language tools can interpret its content appropriately.
4. Run Document Inspector – In Word for Windows, go to File > Info > Check for Issues > Inspect Document. Review the results for hidden text, comments, tracked revisions and personal information before sharing the file.
One detail is easy to miss: selecting No Markup only hides tracked changes from view. It does not remove them. The changes must be accepted or rejected to remove the revision markup permanently.
Making Complex Word Content Accessible
A document becomes harder to review when it contains more than paragraphs and headings. Charts, tables, diagrams, text boxes and forms each introduce their own accessibility concerns. The information may be easy to follow visually, but that does not mean someone using a screen reader will encounter it in the same way.
A few changes can make a difference. The aim is to ensure that important information remains understandable, even when readers cannot rely on the page layout.
Images, Charts, and SmartArt
Images and diagrams often carry information that the surrounding text does not explain. That information needs to be available to readers who cannot see the visuals.
Check the following:
1. Add meaningful alternative text – Describe what an informative image communicates and why it is included. Keep the description brief and avoid repeating information already covered in the surrounding text.
2. Mark decorative images appropriately – Borders, background graphics and other visuals that add no meaningful information can be marked as decorative in Word’s Alt Text pane.
3. Explain charts beyond their appearance – A description such as “bar chart showing annual revenue” does not tell readers what the data reveals. Include the important finding in the alternative text or accompanying text, and provide detailed figures separately when needed.
4. Check SmartArt diagrams – Add alternative text to the entire diagram. When it shows a process or a series of relationships, consider explaining those steps in the document as well.
5. Do not rely on colour alone – Use labels, text or patterns to distinguish categories in charts and diagrams. This ensures that the information does not depend on the reader being able to distinguish particular colours.
Microsoft recommends describing the purpose and information conveyed by visuals rather than simply identifying what they look like.
Tables, Text Boxes, and Floating Objects
Tables and text boxes can make a document look organised, particularly when several pieces of information need to fit on one page. The difficulty is that their visual arrangement may not translate into a logical reading sequence.
Keep these points in mind:
1. Use simple tables – Reserve tables for presenting data rather than arranging page content. Give each column a clear heading and identify the header row in Word.
2. Avoid complicated cell arrangements – Merged cells, split cells, nested tables and completely blank rows can make it harder for screen readers to follow the information. Simplify the table wherever possible.
3. Keep important information out of floating text boxes – Word screen readers may not encounter text inside floating text boxes when reading the main document. Place essential information in the document body whenever possible.
4. Check the reading order of floating objects – When text boxes, charts or other objects are necessary, make sure they can be located and read in a sensible sequence. Do not assume that their position on the page determines when they will be read.
Microsoft’s guidance explains that floating text boxes may need to be accessed separately through Word’s Selection pane, rather than being encountered during normal reading of the document.
Long Documents, References, and Forms
Long documents introduce another challenge: readers need to find their way around without losing track of where they are. The same applies to forms, where unclear field labels or instructions can make completing a document difficult.
Before sharing the document, check these areas:
1. Maintain a consistent heading hierarchy – Use the same heading levels across chapters and sections so readers can move between them without confusion.
2. Generate the table of contents from heading styles – Avoid typing page numbers manually. Generate the contents using Word’s references tools and update it after making structural changes.
3. Use descriptive hyperlink text – Link text should tell readers where a link leads. Replace vague labels such as “click here” with the name or purpose of the destination.
4. Review footnotes and endnotes – Use Word’s built-in footnote and endnote features rather than manually adding reference numbers and notes. Check that references and their corresponding notes are easy to follow.
5. Make form fields clear – Give each field a meaningful label and provide instructions where readers need to enter information in a particular format. For fillable forms, check that users can reach and complete each field using a keyboard.
These checks help preserve the relationship between information, references and interactive elements, even in documents that run to several chapters or contain multiple sections.
Check Accessibility and Preserve It When Converting Word to PDF
A document can look ready for publication and still have issues that are easy to miss during a visual review. A heading may not be recognised correctly, an image description may leave out important information, or a table may be difficult to follow with a screen reader. This is where accessibility checks become important.
Use Word’s Accessibility Checker
Word has a built-in Word accessibility checker that helps identify common problems before a document is shared. It gives editors a starting point for the review, rather than leaving them to find every issue manually.
Open the document, go to Review > Check Accessibility, and work through the results in the Accessibility pane.
Word groups its findings into three categories:
- Errors: Issues that may make content difficult or impossible for some people to access.
- Warnings: Elements that could cause problems in certain circumstances.
- Tips: Suggestions for making the document easier to use.
Start with the errors and warnings, then review the suggestions. Select an issue to find the affected content and see what Word recommends.
The checker has its limits, though. It may flag an image that has no alternative text, but it cannot tell whether a description already in place gives readers the information they need. The same applies to tables and charts. A document can pass the automated checks and still leave readers struggling to understand its content. An editor needs to review those details and, where appropriate, test the document with assistive technology.
Test the Document and Review the Exported PDF
The review should not stop once the Word file is ready. Many organisations distribute documents as PDFs, and the conversion process can affect the structure that makes the original file accessible.
A few checks before and after export can help catch these problems:
1. Read through the document using a keyboard – Move between headings, links and other interactive elements without using a mouse. Check that the navigation follows a sensible order.
2. Try a screen reader – Listen to how the document reads, particularly where tables, charts, forms and other complex content are involved. This can reveal problems that a visual inspection will not pick up.
3. Prepare the file for conversion – Accept or reject outstanding changes, update the table of contents and refresh any cross-references or fields that may have changed during editing.
4. Use Word’s PDF export settings – Go to File > Save As, choose PDF, and check the options for Document structure tags for accessibility. These tags help carry headings and other structural information into the exported file.
5. Open and check the PDF separately – Review its tags, heading structure, reading order, links and alternative text. Do not assume that everything has carried over correctly just because the Word file passed its checks.
That final review matters. The Word document and the PDF are two different files, and each needs to be checked in the format in which readers will receive it. A problem introduced during conversion can undo work that was already completed in Word.
Conclusion: Make Accessibility Part of Every Document’s Lifecycle
Fixing existing files is a good start, but the same issues can return with the next round of edits or a new template. Consistent formatting, accessible templates and checks before distribution help make accessible Word documents part of everyday publishing practices rather than a one-time exercise.
For organisations managing large document collections, maintaining accessibility across every file can be challenging. Documenta11y’s document accessibility audit services help identify accessibility gaps and determine the remediation needed to make documents more accessible. Get in touch with Documenta11y to assess your documents and plan your next steps.
 How to Make a Word Document ADA Compliant and Accessible
 PDF to HTML Conversion Spec Updated to v1.2: The Algorithm Now Expects Well-Tagged PDF
 PDF Remediation Pricing: Cost Per Page, Key Factors, and Estimates